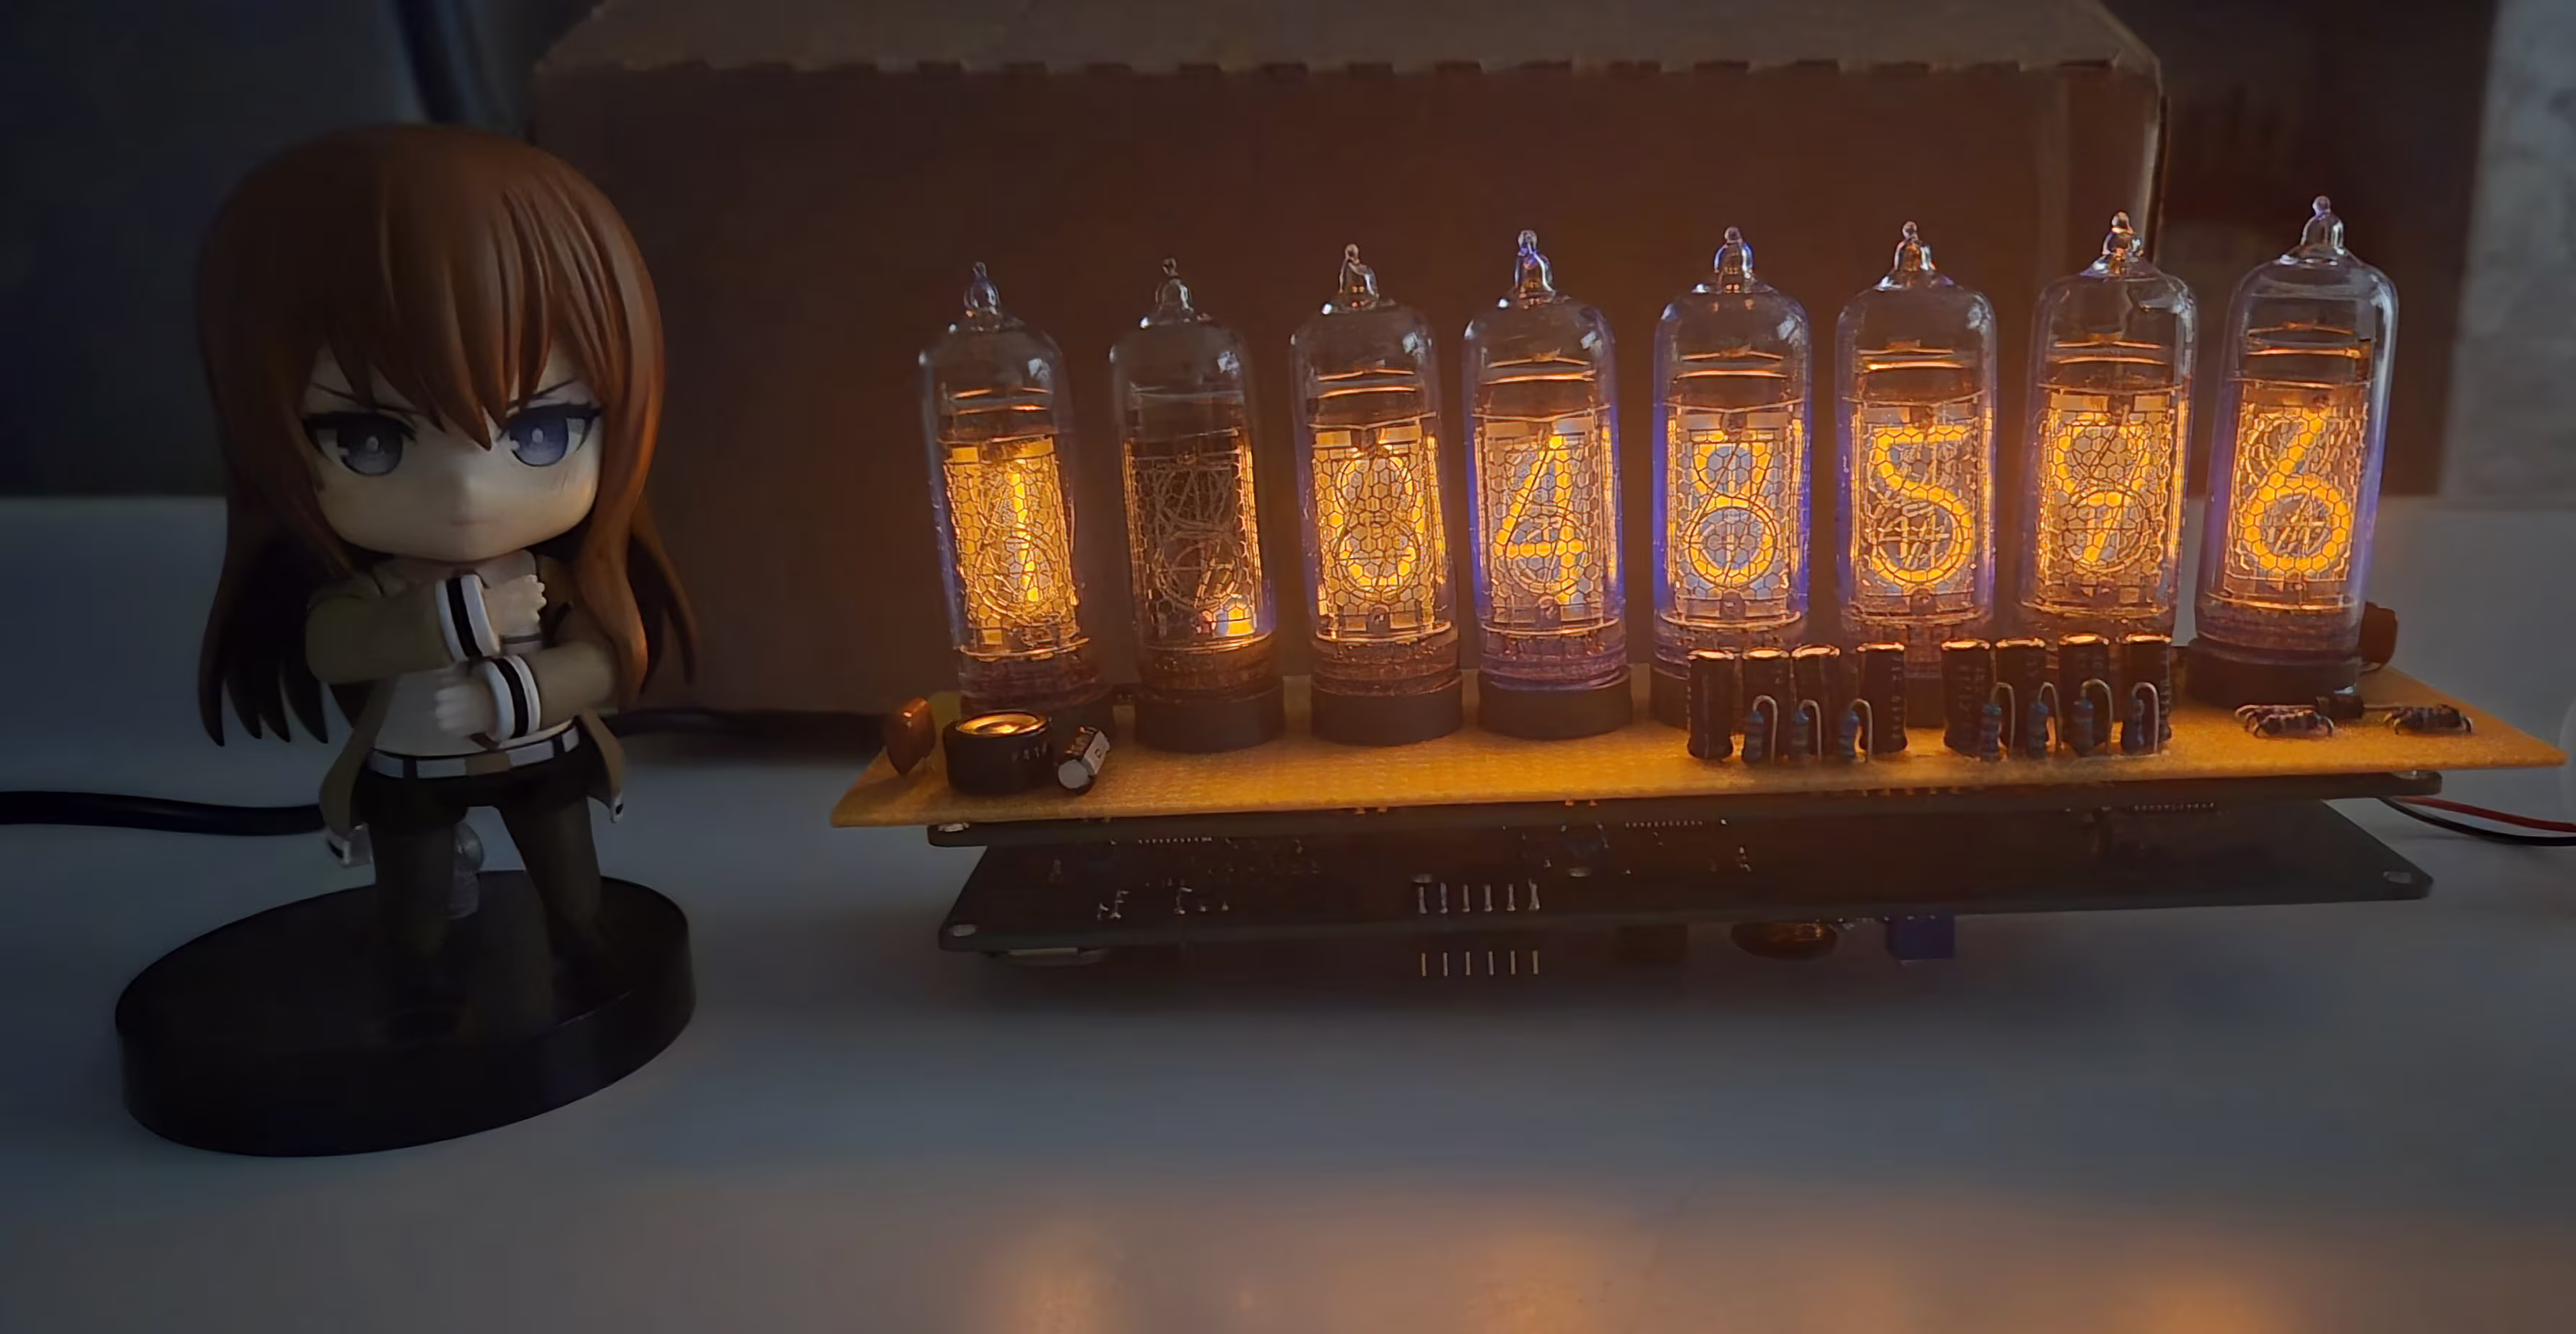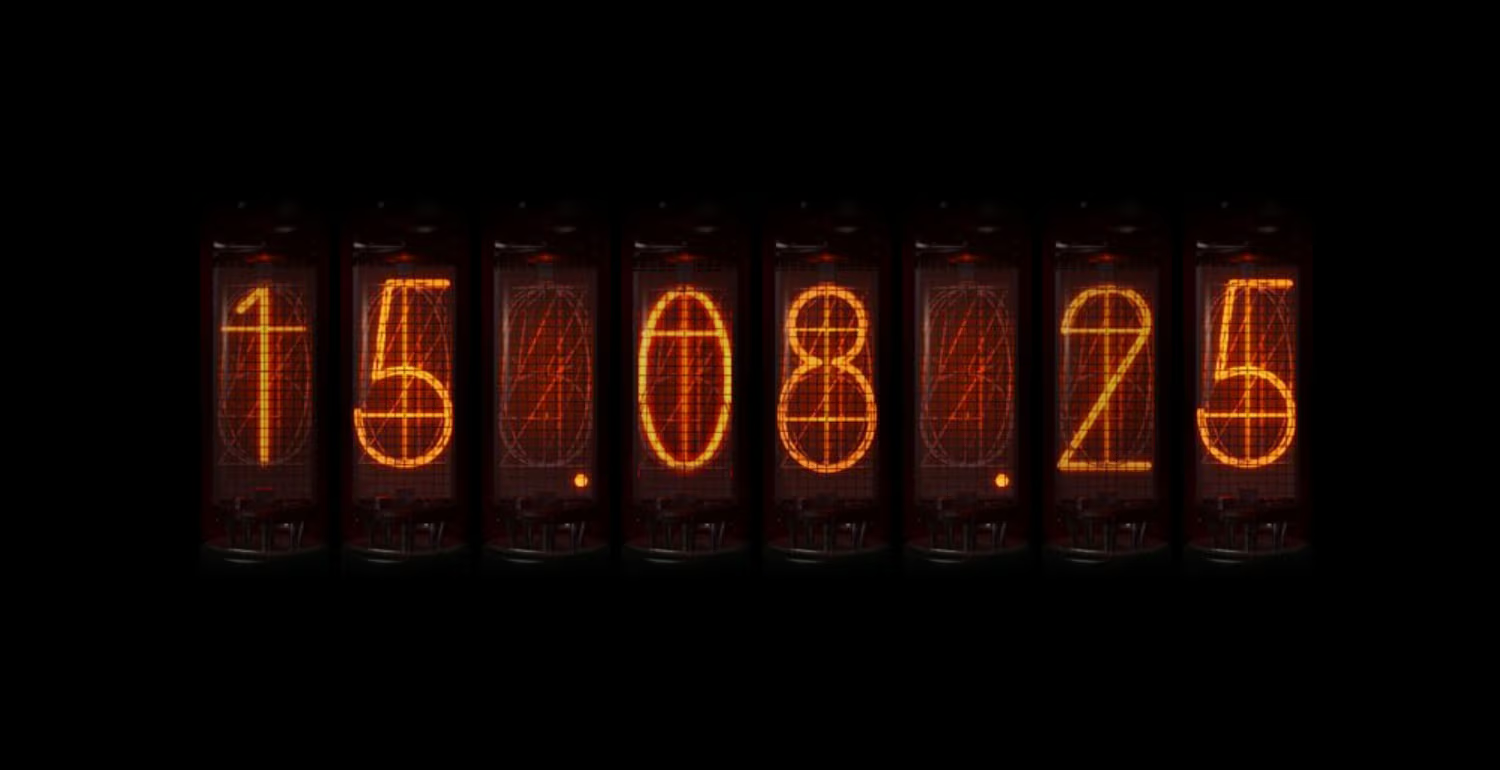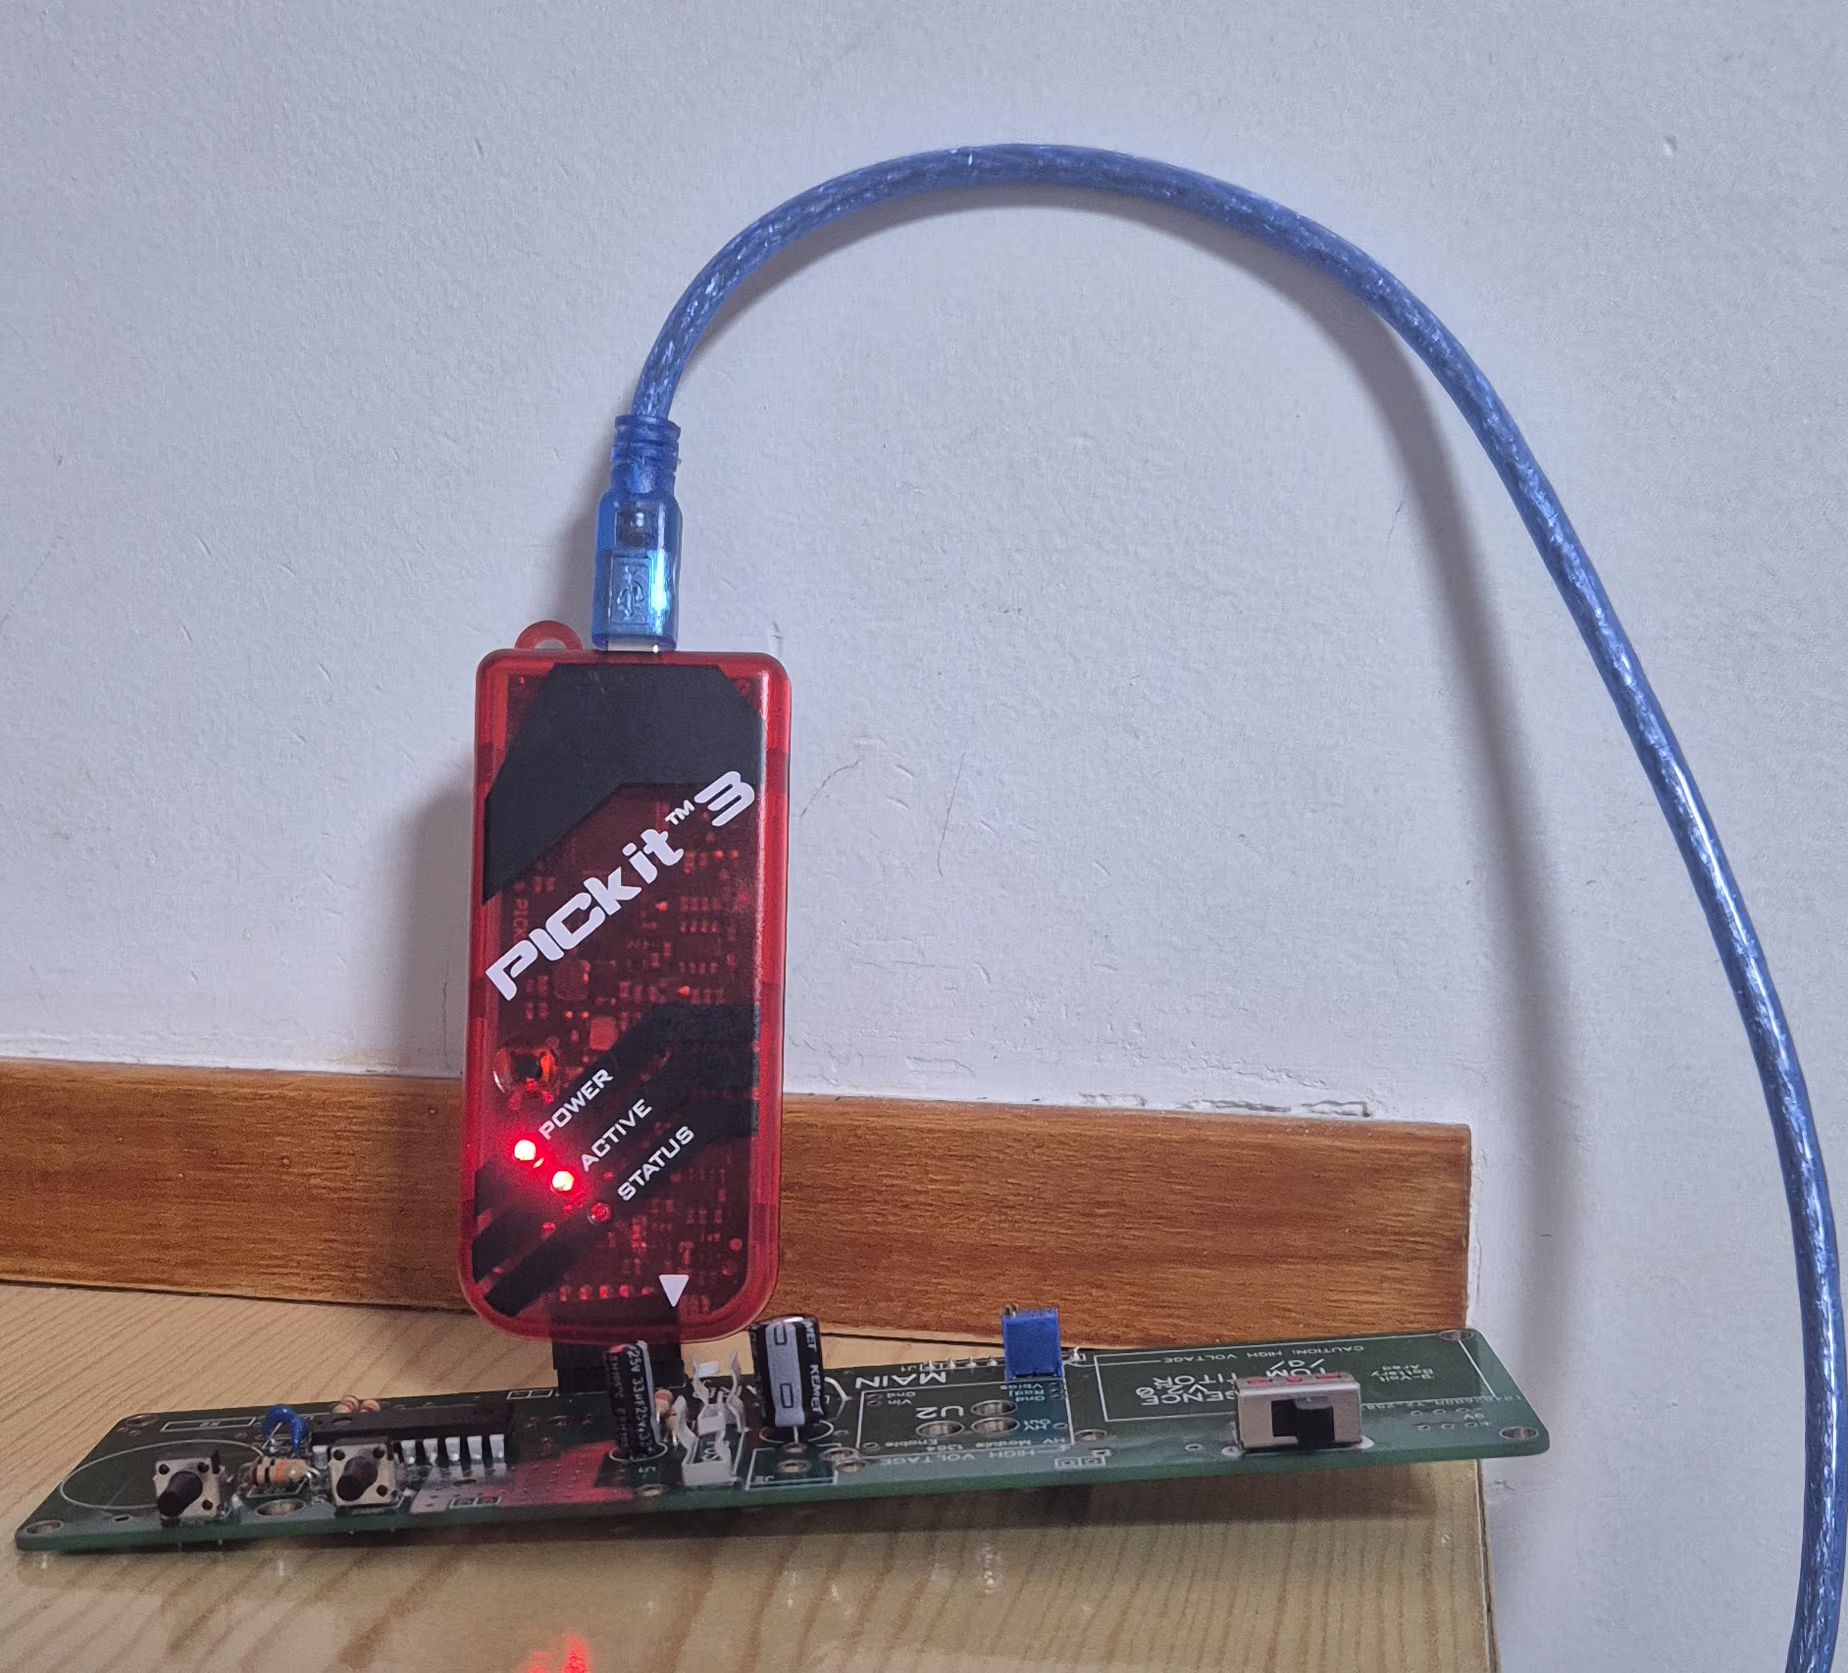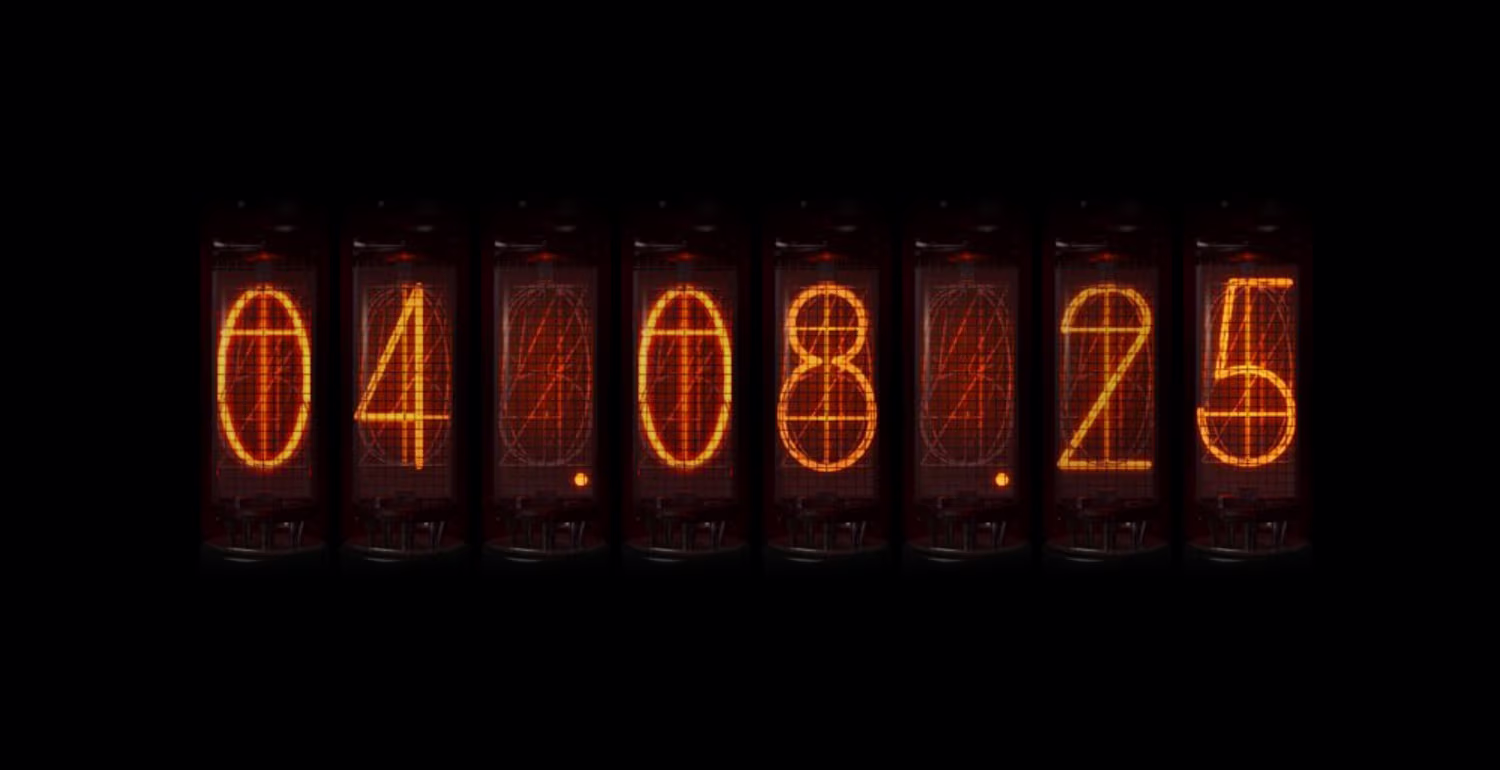
Well... After a long time without updating for various reasons (the main one being laziness after seeing that the clock and everything else works), I can say that I have finished the electronics part. I am attaching a video of the clock working and an image. As you can see, I still need to install the aluminium clock case itself before I can officially say that I'm done with it. I'll keep updating this page until it's 100% finished. I hope I can order the metal plates this month so I can finish this project and not drag it out any longer.
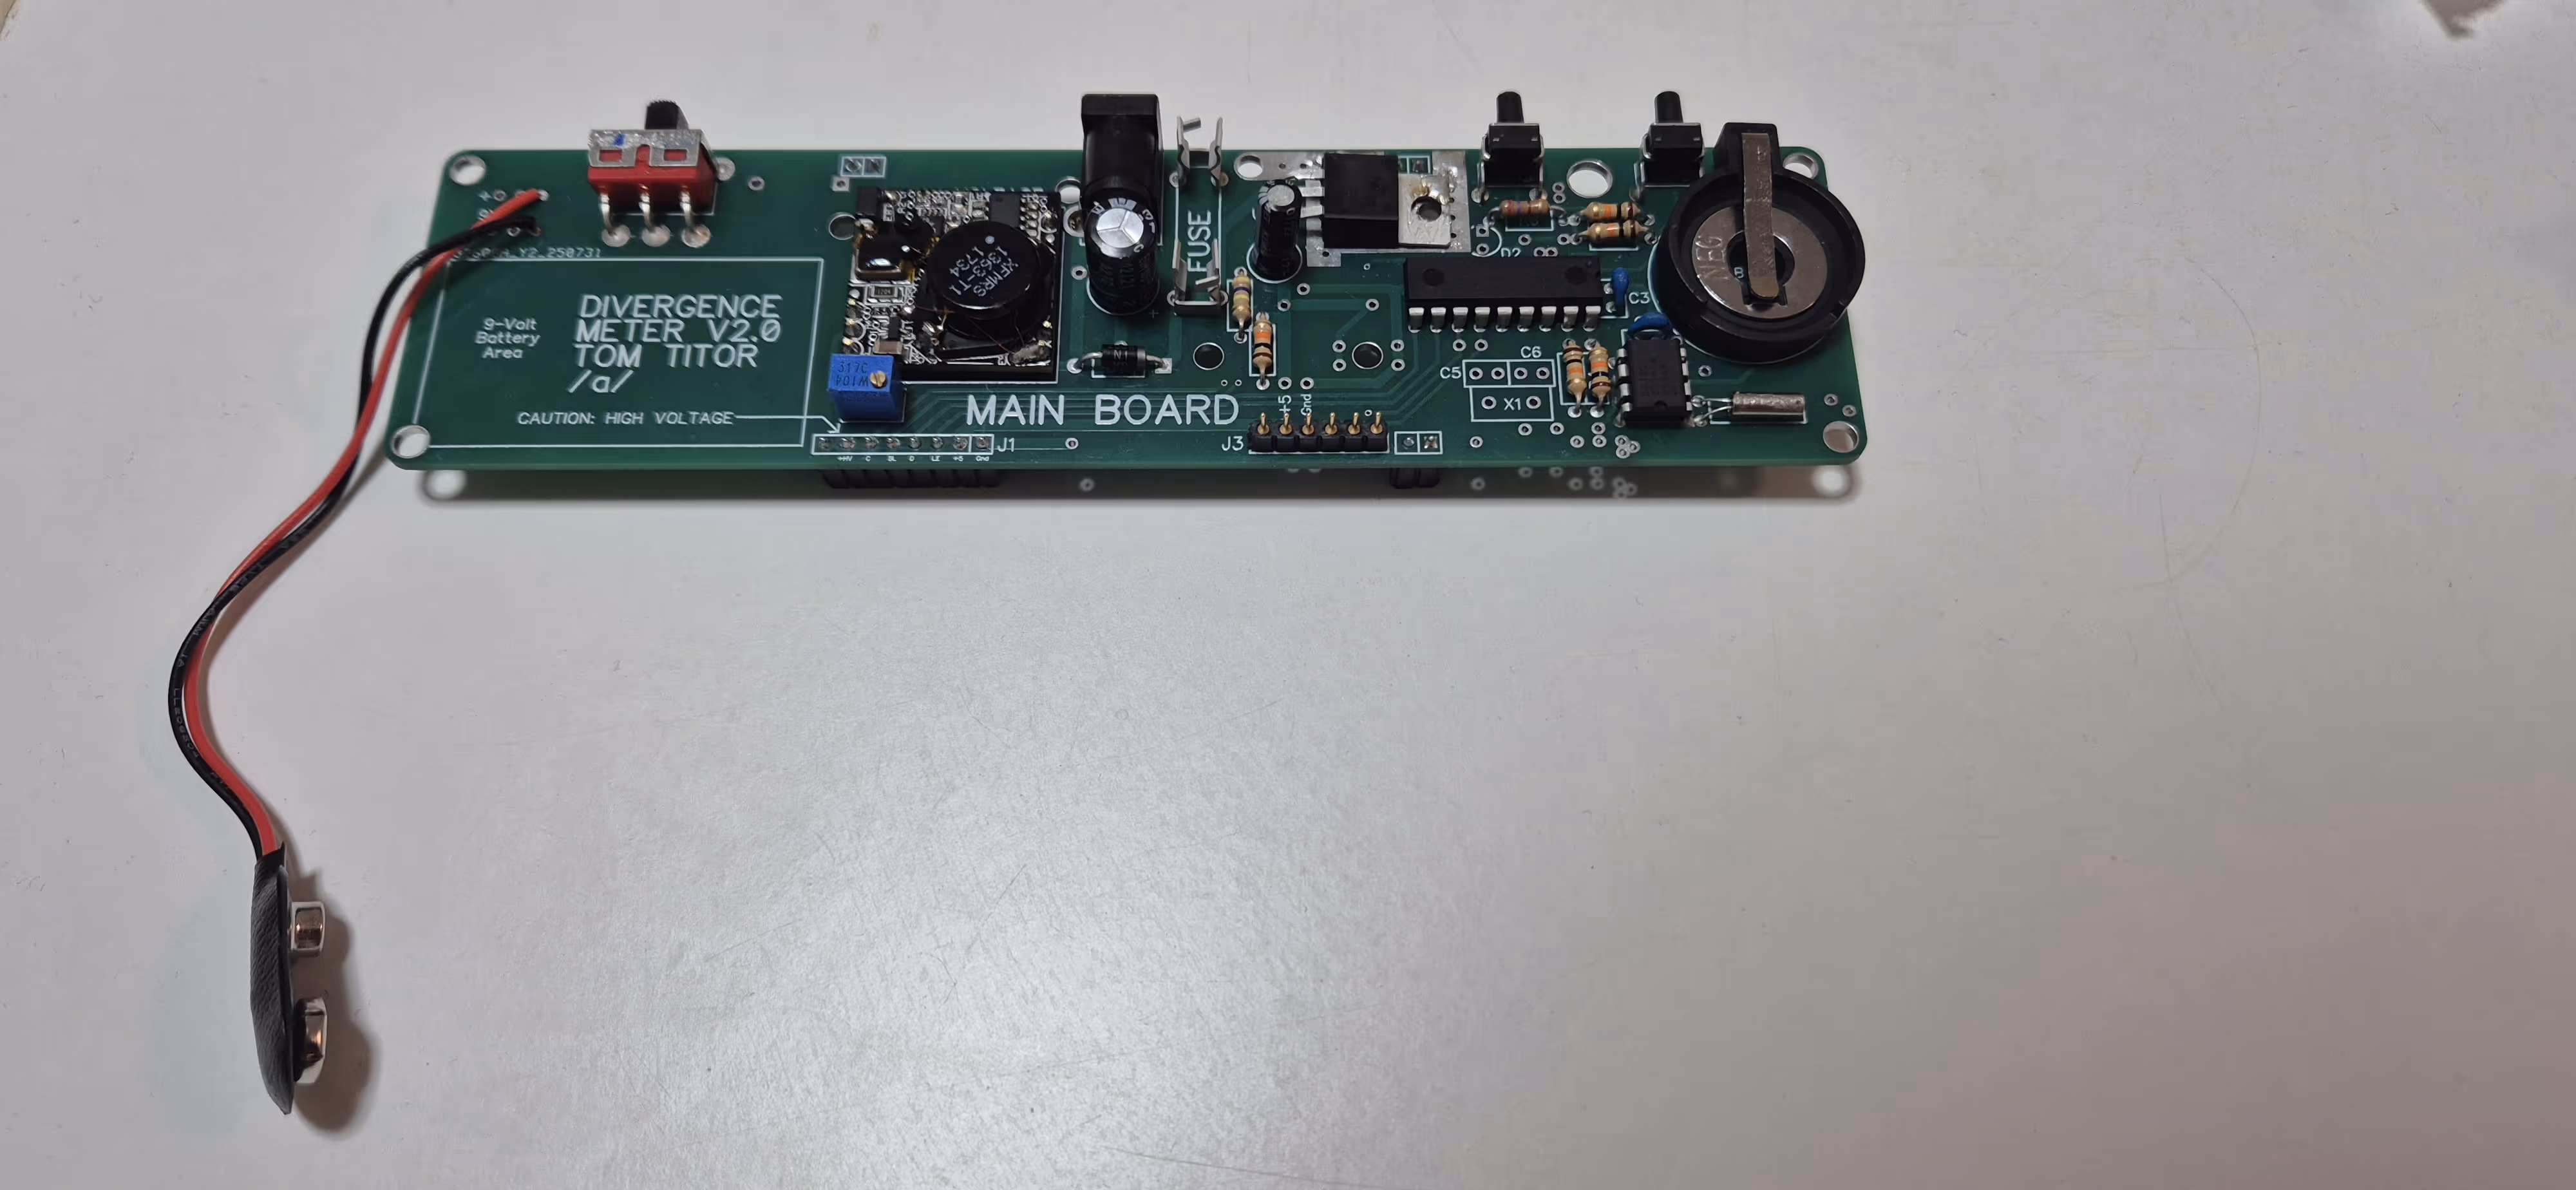
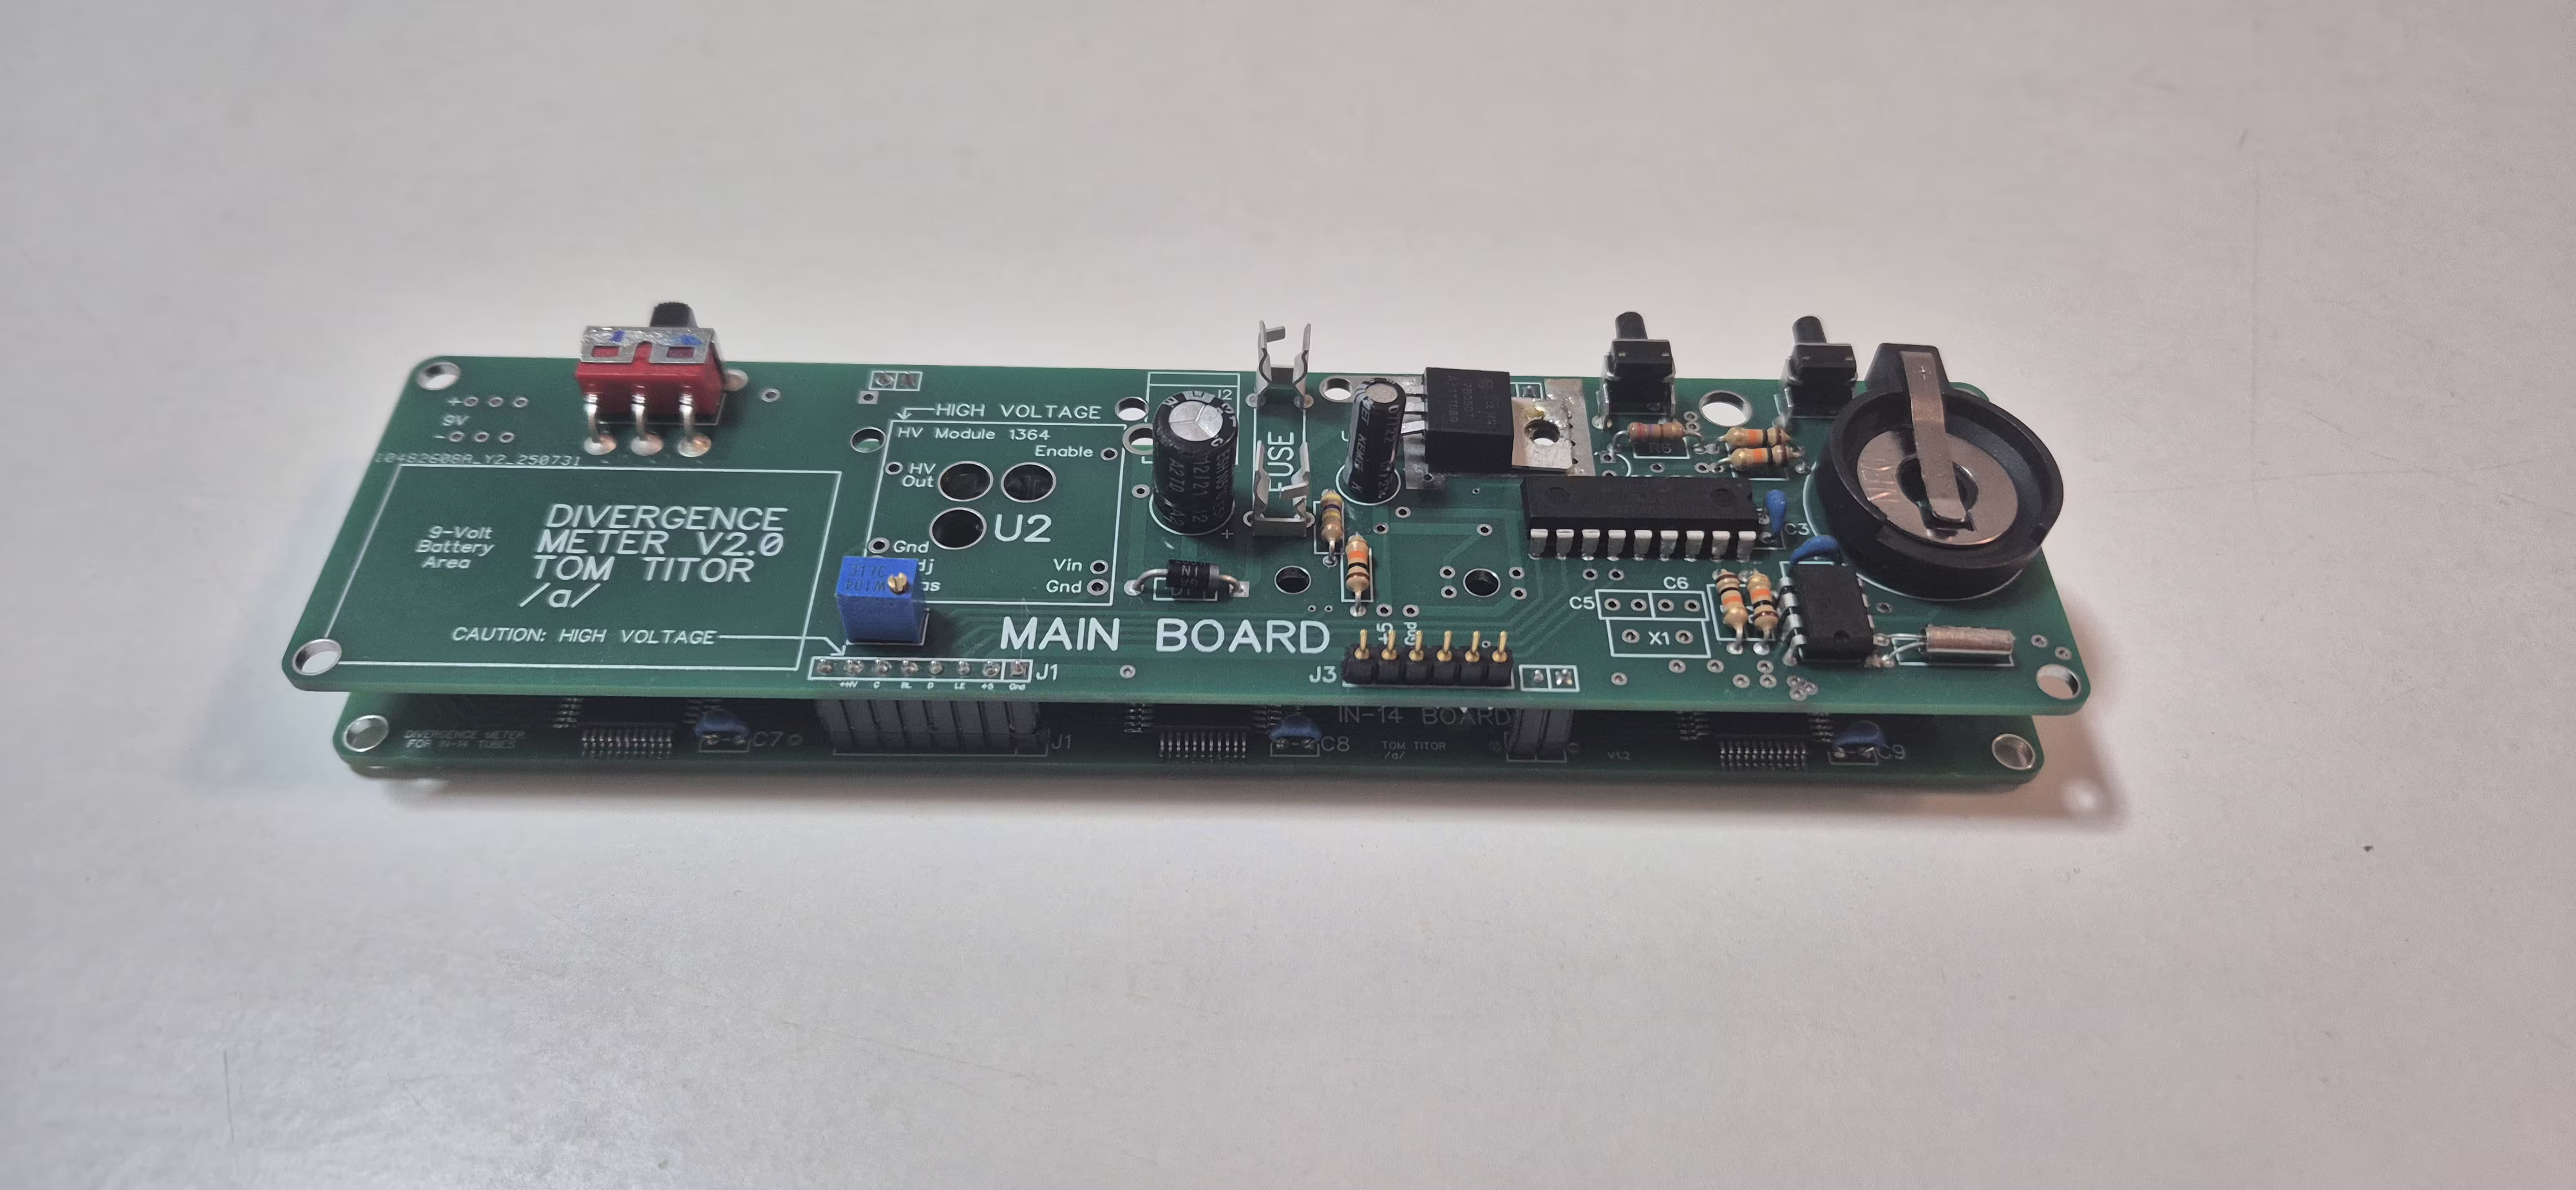
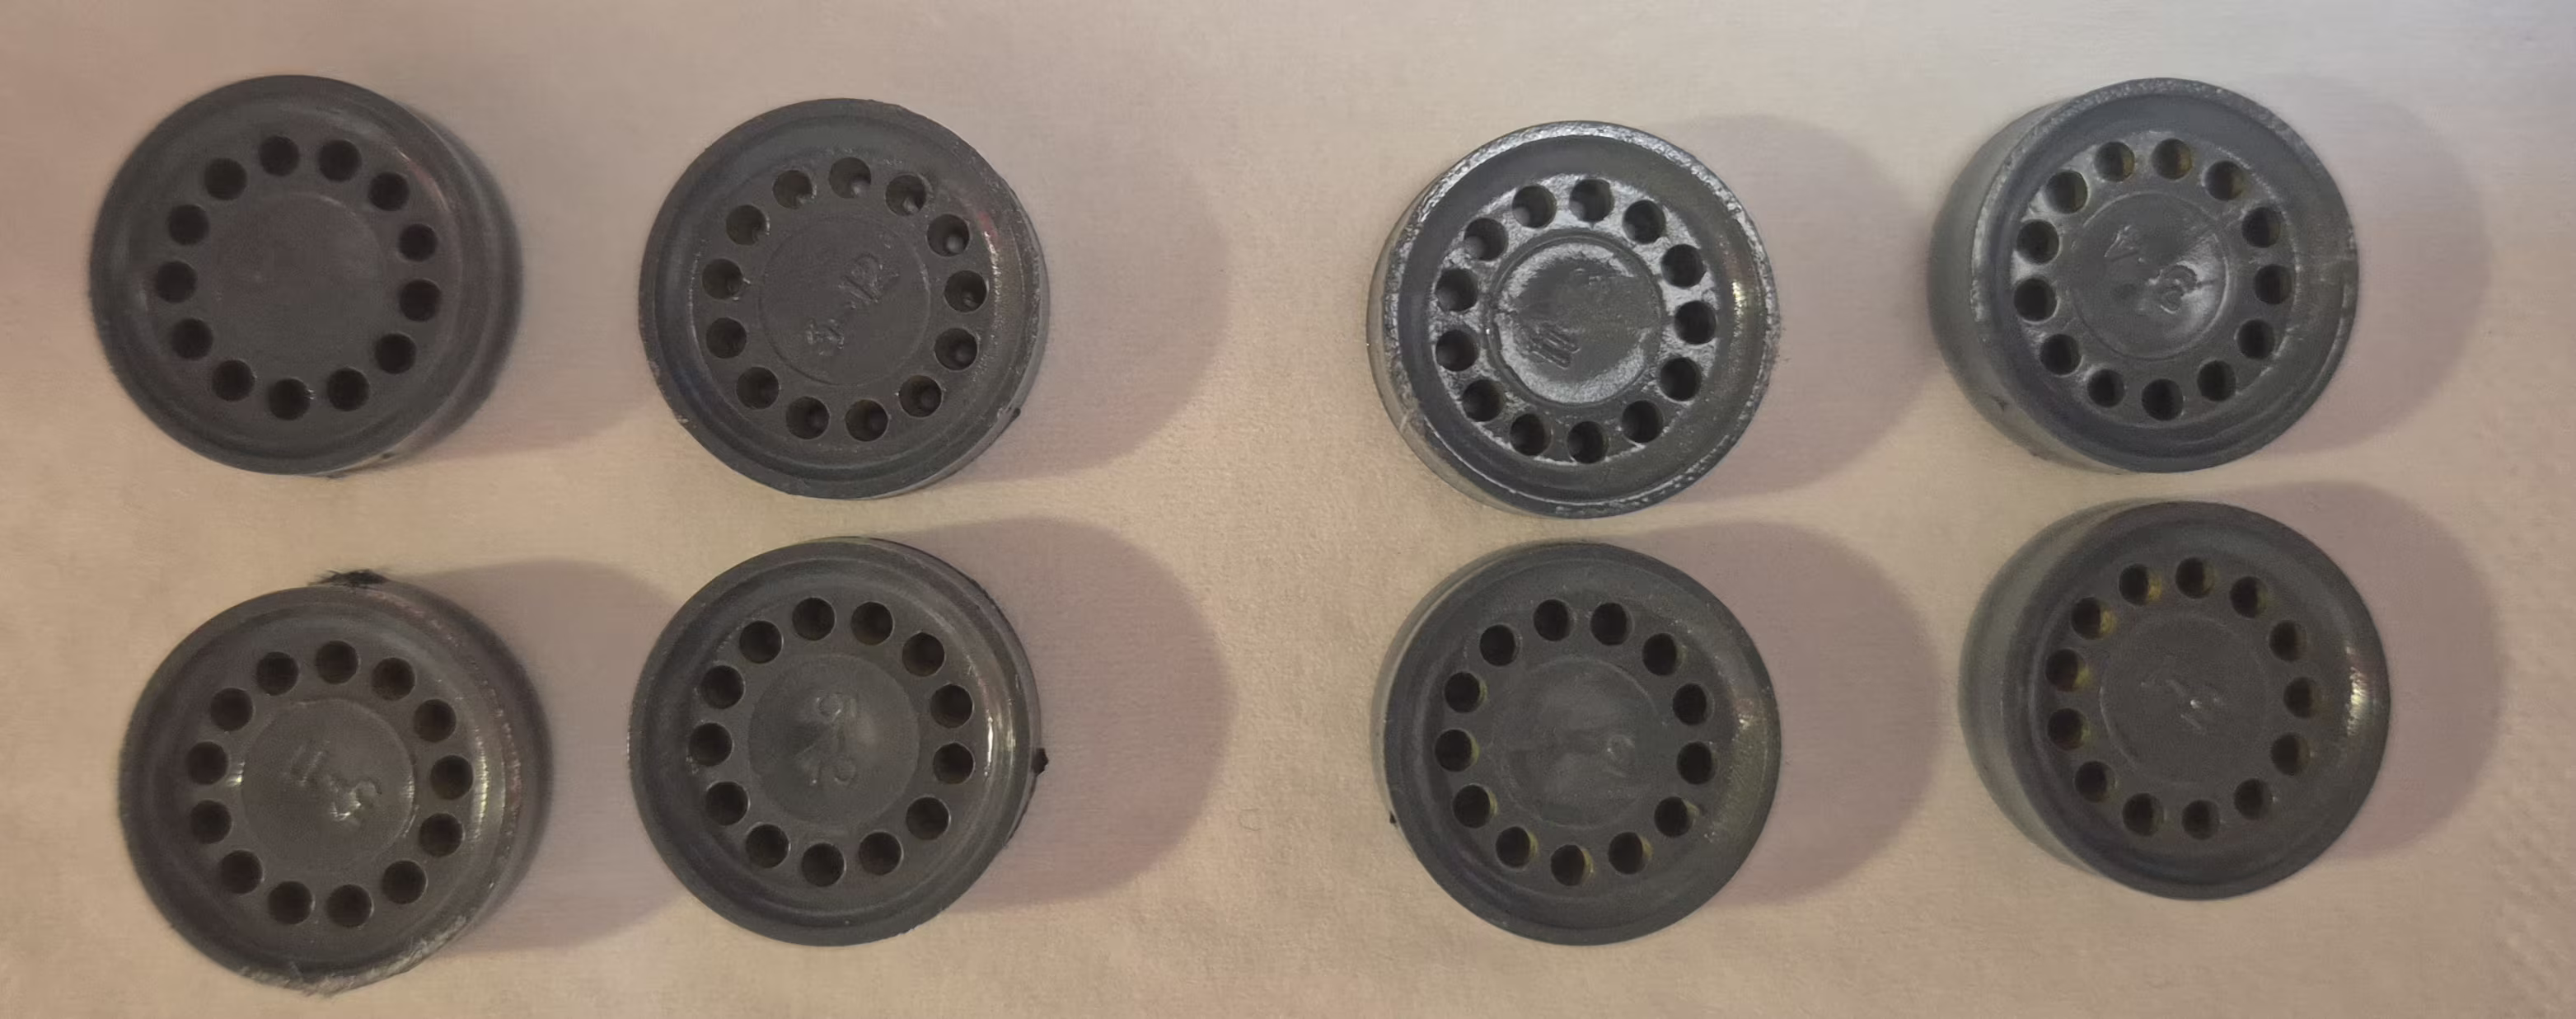
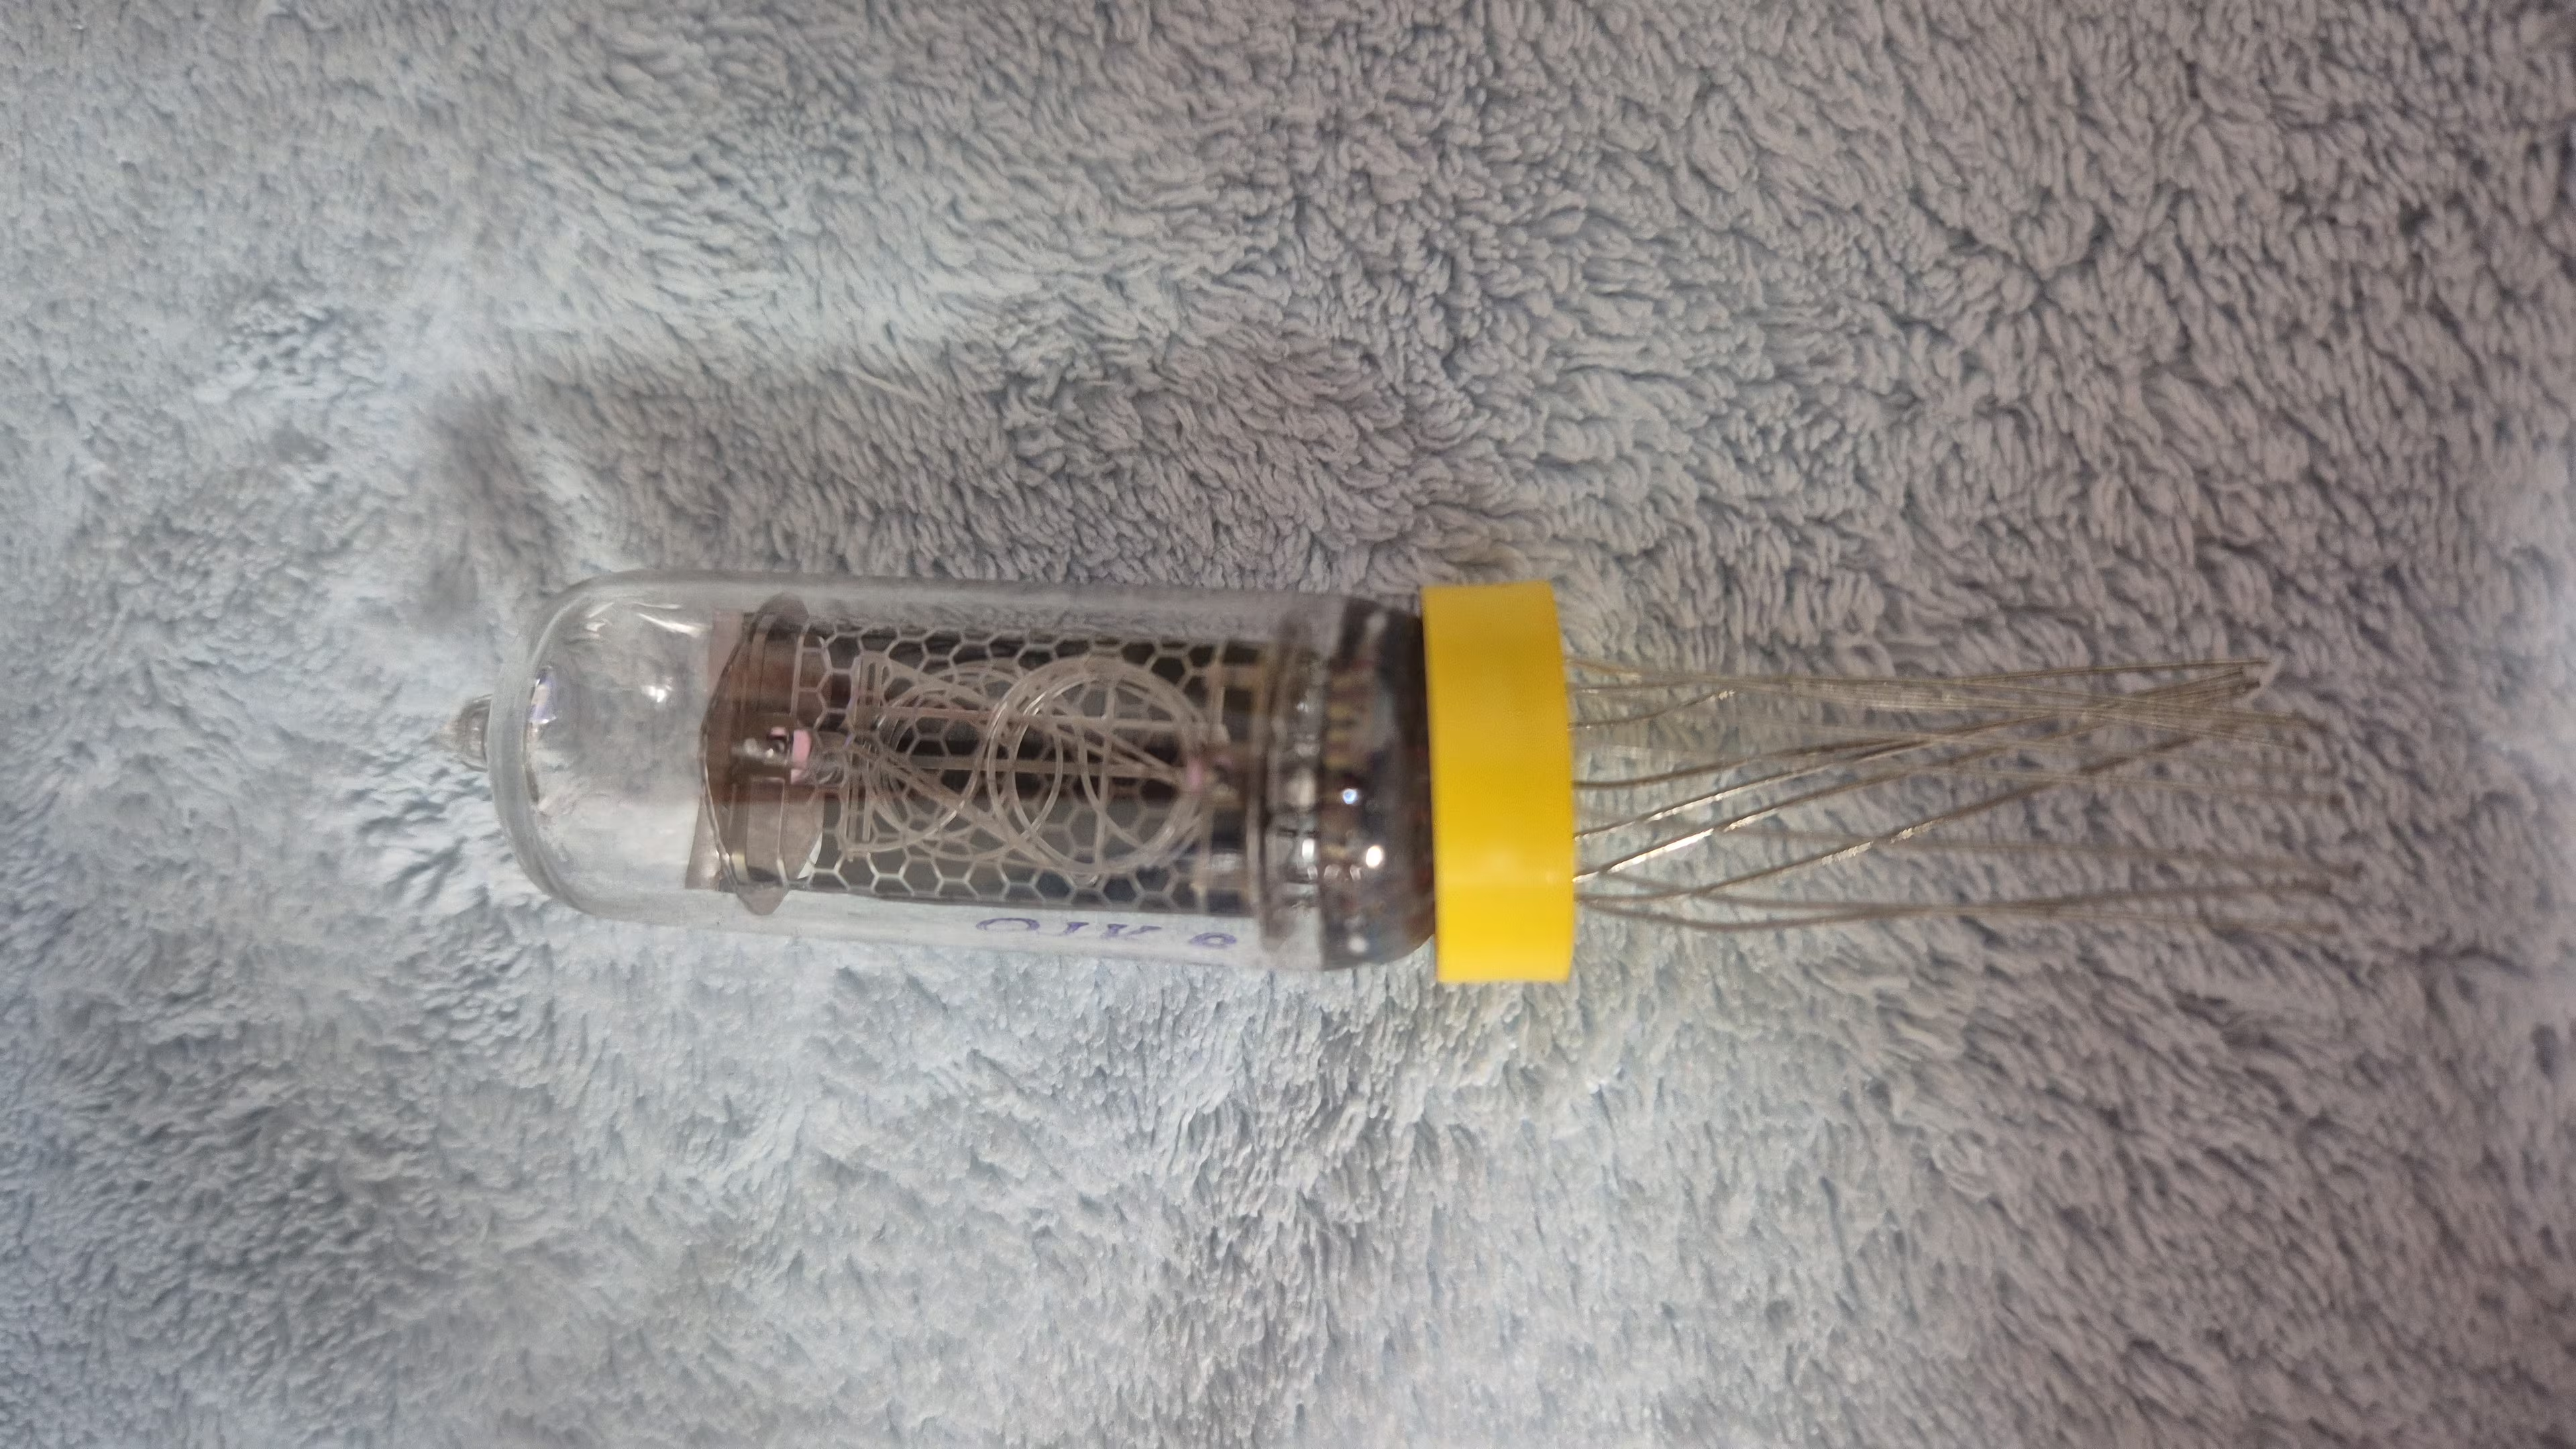
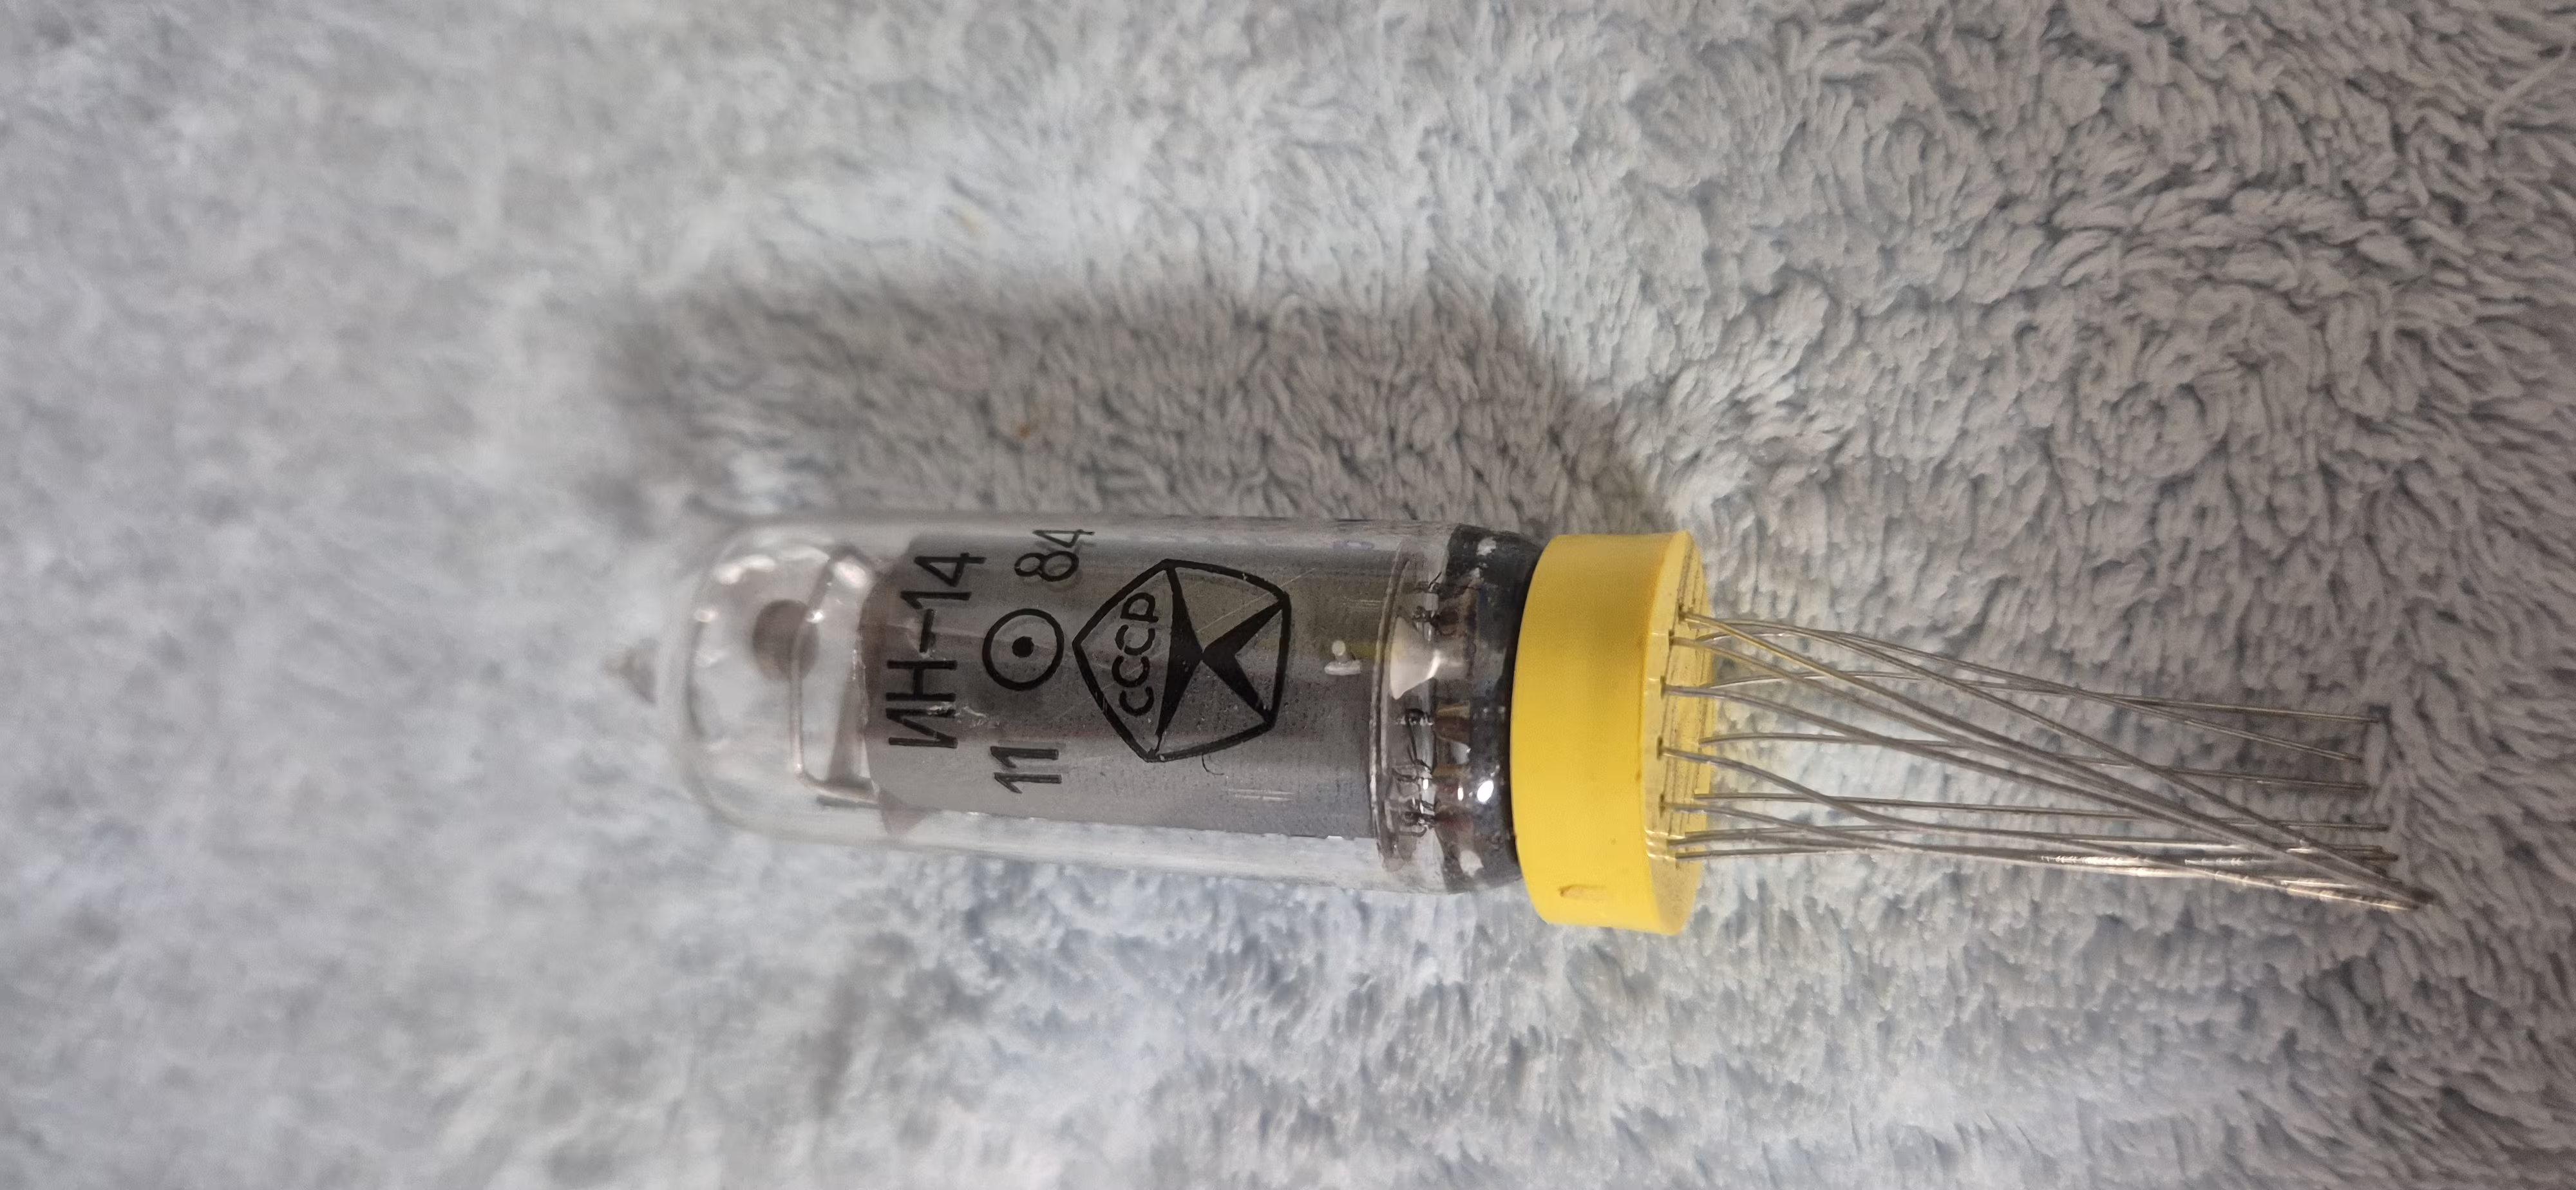
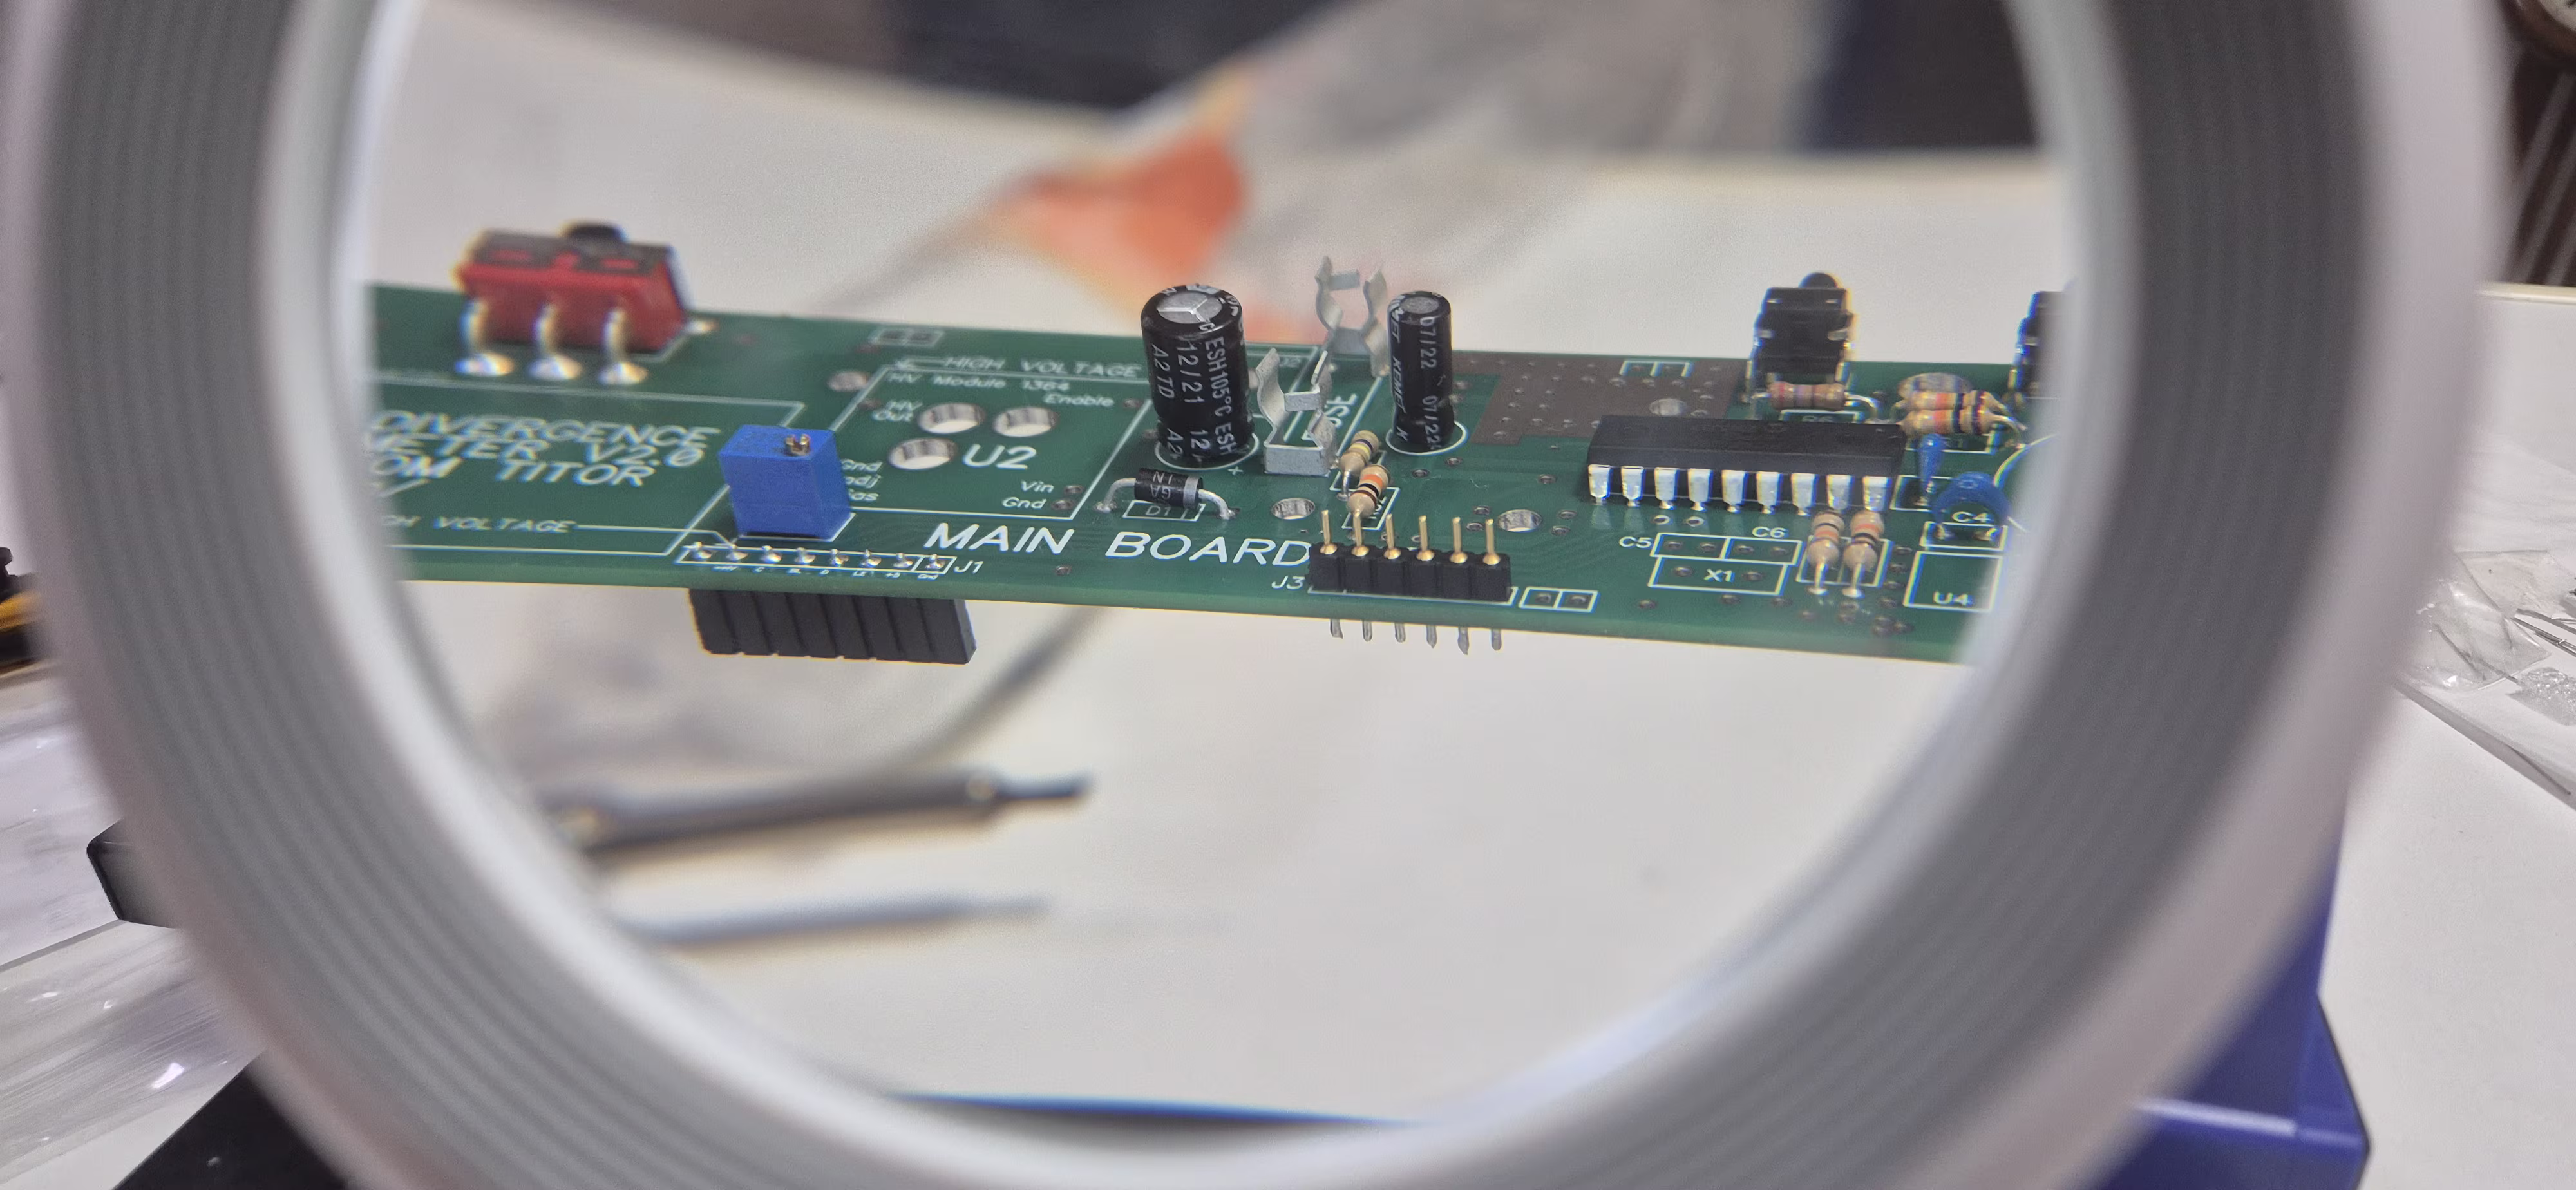
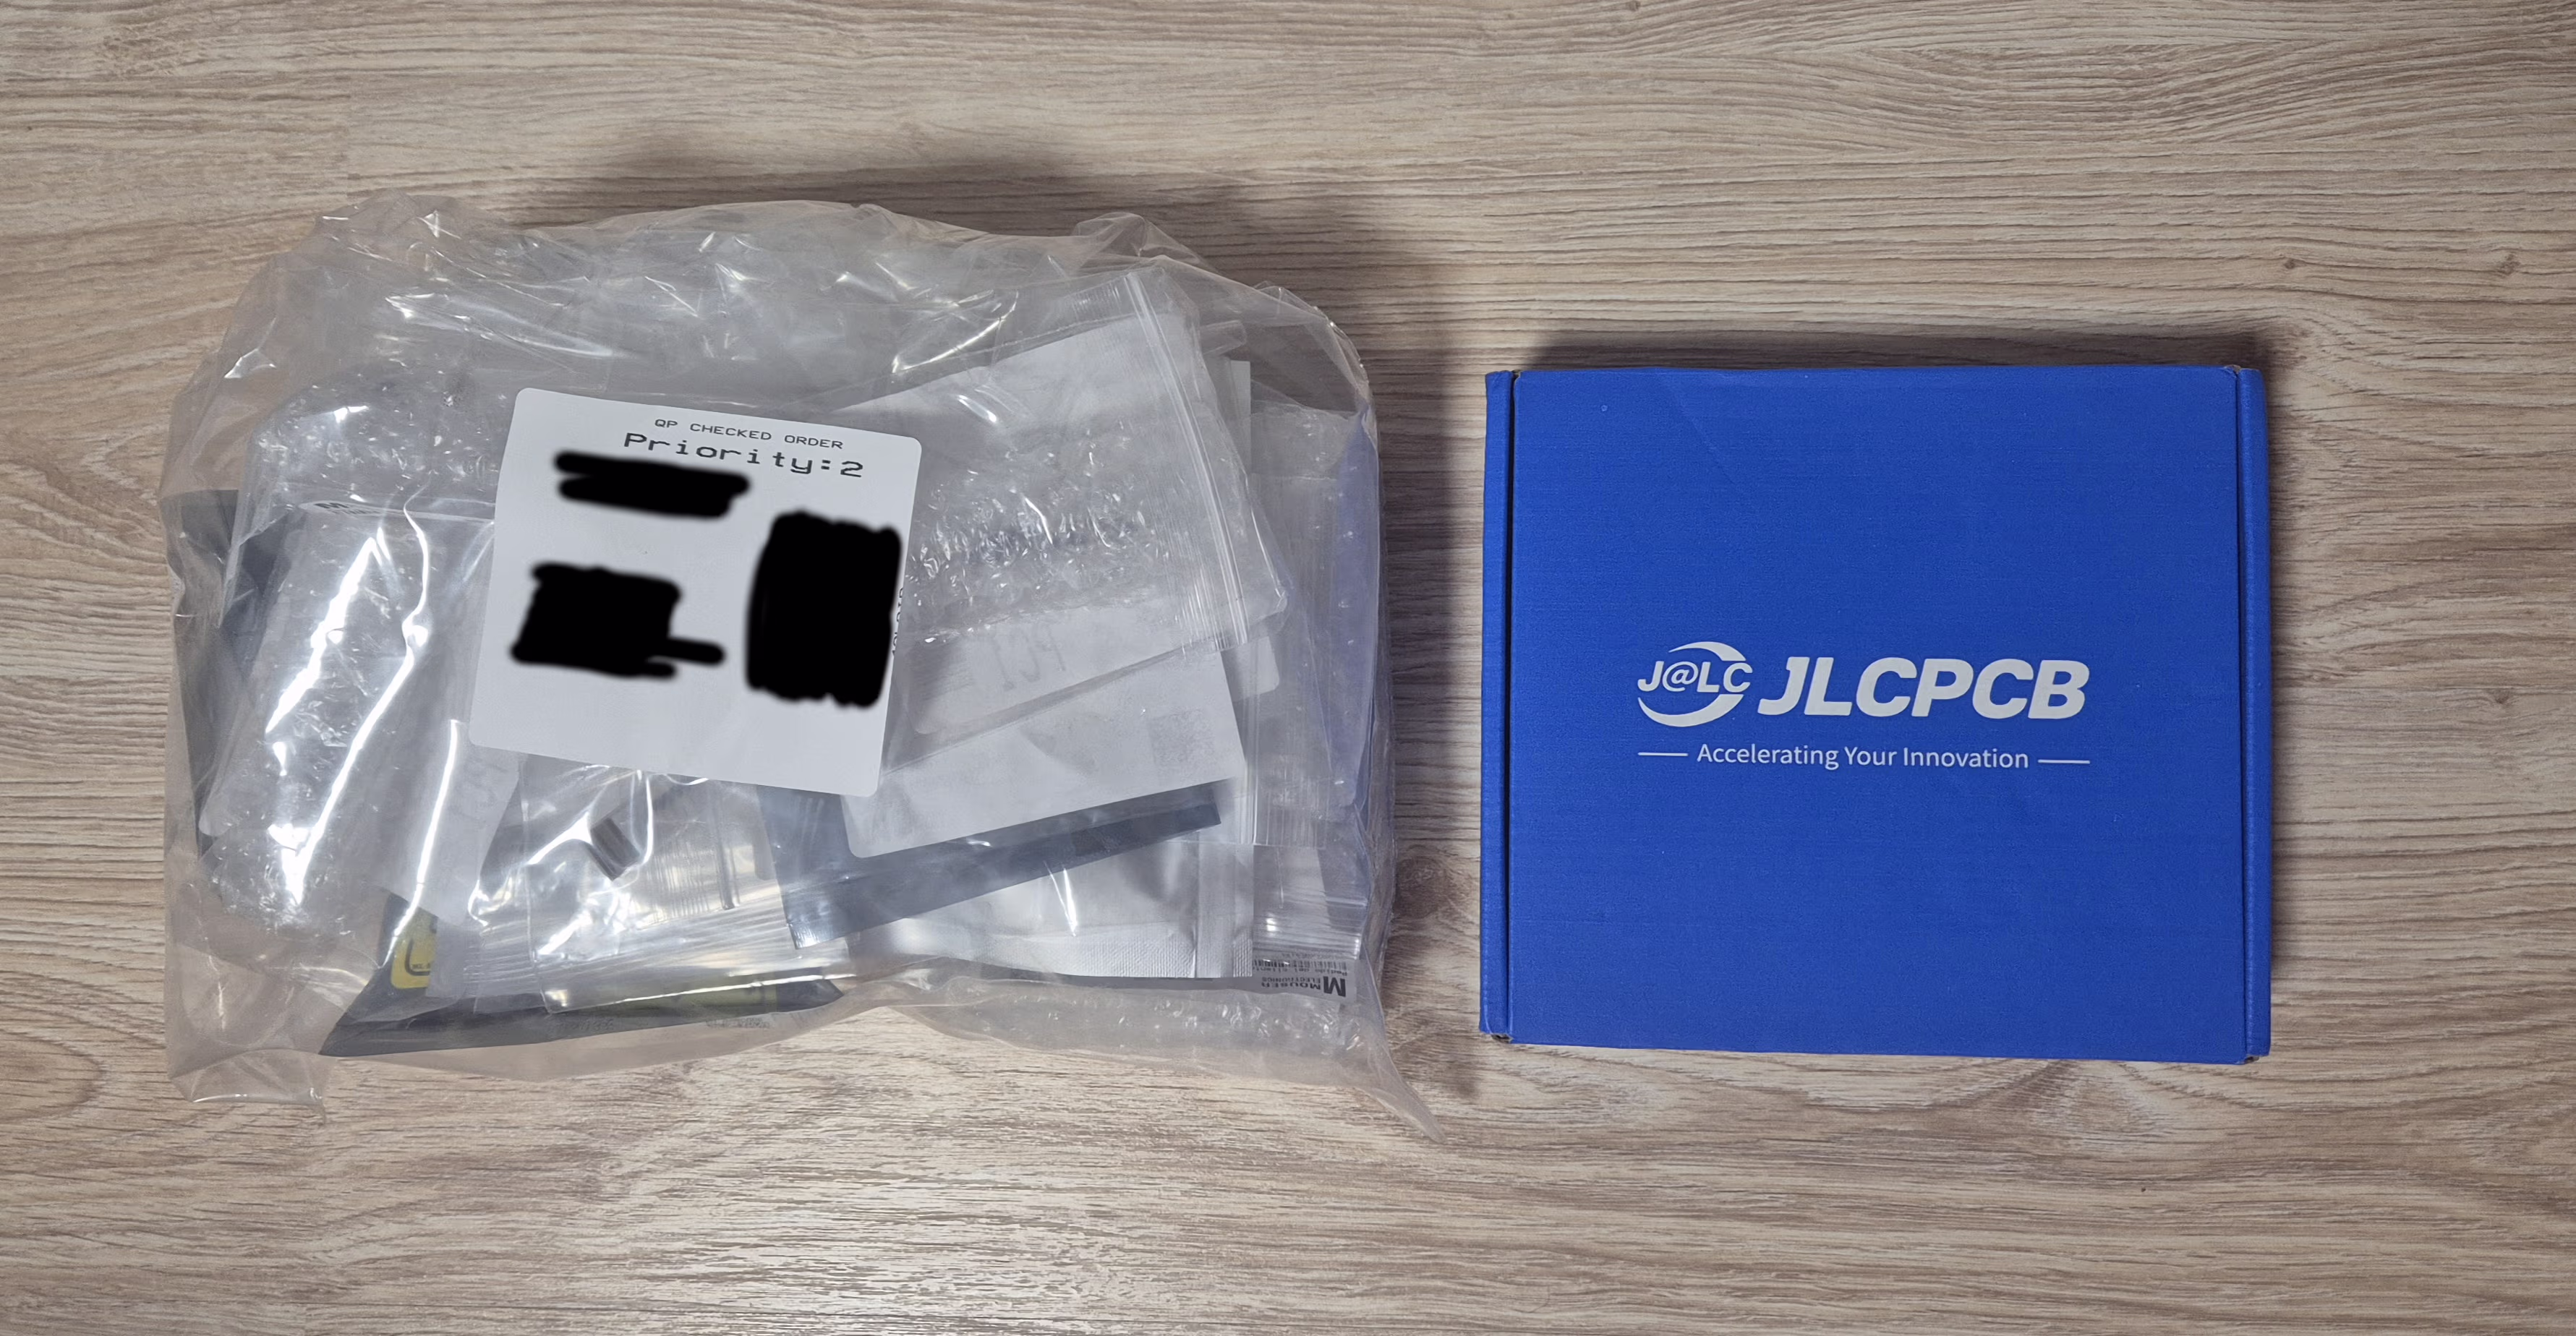
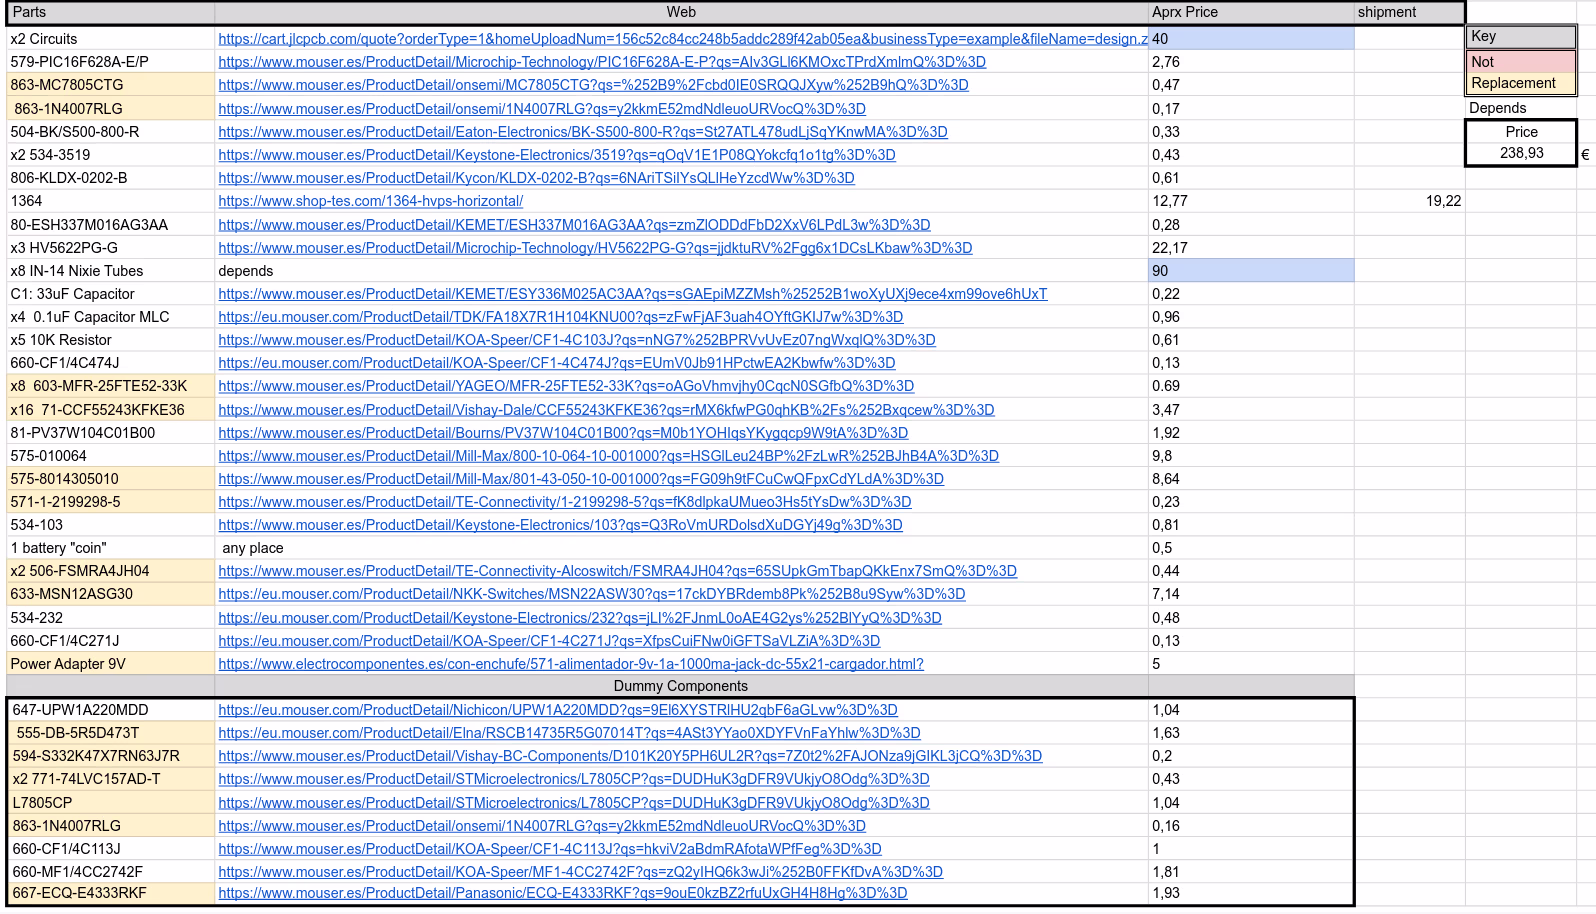
I am very pleased to see this project working, as I saw it some time ago with no intention of doing it because it involved quite a few things, parts, and soldering skills, but finally, after thinking of it as a summer project, I decided to do it and finished it (almost). I would also like to thank the original author of the clock itself, as he makes it much easier in terms of the PCB design for soldering, explanations, precautions, step-by-step instructions, especially in the most complex cases. The author and his website are linked at the bottom right of this page on the button with the "?" symbol. If you have any intention of creating it or the possibility of doing so, I recommend you take a look, as it has been an experience for me to have to create something from scratch, in the context of having to order the individual components, solder them, test them and adjust the voltage since the design and having to plan where each component goes, apart from the clock code, is already done.
And I thank the people who have read this blog, as well as those who have commented to me personally, either in person, through messages, or on social media. In a few weeks, I will update the complete result, the finished watch itself with the case.